Beta Add-on Tool Manager
The Beta Add-on Tool Manager lets you quickly and easily add LMI-provided beta tools to an existing firmware file. After updating the firmware, upload it to a compatible sensor; for more information, see Software Upgrade.
The tool manager is available in the 14632-x.x.x.x_SOFTWARE_GoPxL_Tools_AddOn_Beta.zip package, available on the LMI Product Downloads page (https://lmi3d.com/product-downloads/), under the Beta Software Releases section.
To get the package:
| 1. | Go to https://lmi3d.com/product-downloads/ and log in to your account. |
| 2. | Select Gocator in the brand drop-down. |
| 3. | Choose the package that corresponds to the firmware you wish to run the tool manager on and download it. |

|
Remember that the tools available in the package are beta tools. LMI does not recommend using them in production settings. |
The general workflow with the Gocator Add-on Tool Manager is as follows:
| 1. | Load a .dat Gocator firmware file (or point the manager to the "GoPxL" folder in an unzipped Utilities package). |
| 2. | Load one or more beta tool packages (in .tar archives). |
| 3. | Enable the tools you want to add to the loaded firmware. |
| 4. | Run the tool manager on the firmware and tool packages. |
The result is a modified firmware file or GoPxL for PC that contains the tools you selected.
|
|
At any point before creating the new firmware with the tool manager, you can click Reset to remove the loaded firmware and tool packages, and start over. |
Adding Beta Tools to a Firmware
To add beta tools to a firmware:
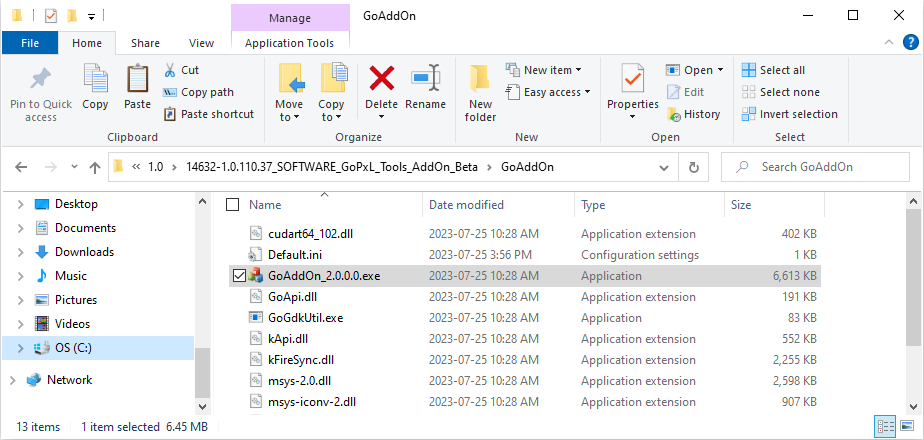
| 1. | If you haven’t already done so, download and unzip the package containing the Gocator Add-on Tool Manager to a convenient location on your computer. |
| 2. | Launch the tool manager (GoAddOn_x.x.x.x.exe) from the \GoAddOn subfolder. |
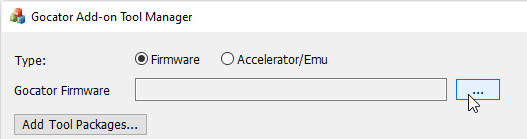
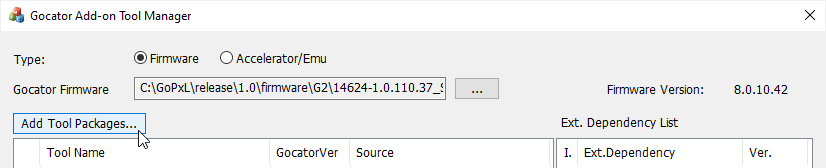
| 3. | In the tool manager, set the type. |
Set the type to Firmware to create a custom firmware you will upload to a sensor.
Set the type to Accelerator/Emu to create a custom Windows version of GoPxL.
| 4. | Below the type, click the  button to choose the firmware or GoPxL folder. button to choose the firmware or GoPxL folder. |
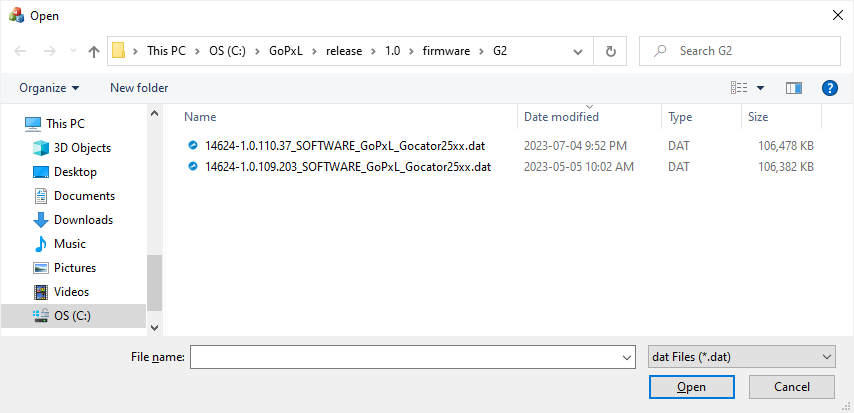
| 5. | In the Open dialog that displays, navigate to the location of the .dat firmware file or the folder you want to use. |
Choosing a firmware:
Choosing a folder containing GoPxL for Windows:
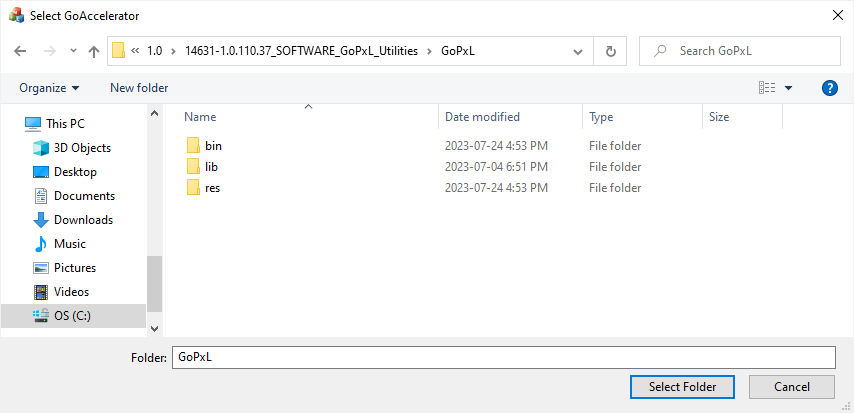
The tool manager loads the firmware.

If the firmware was previously created using the tool manager, the tools will be listed in the tool window. For information on removing tools, see Beta Add-on Tool Manager.
| 6. | Click the Add Tool Packages... button above the tool list. |
| 7. | In the Open dialog, navigate to the folder containing the \GoAddOn folder, select a .tar tool package, and click Open. |
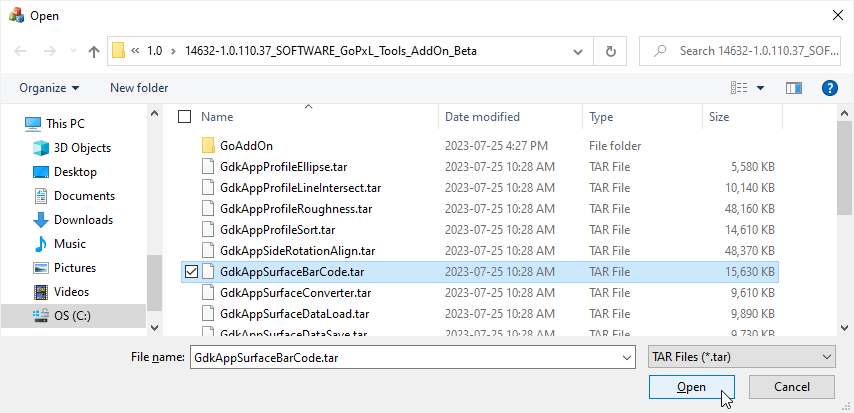
The tool manager adds the package to the tool list.
Note that you can add multiple packages at once from the Open dialog.
|
|
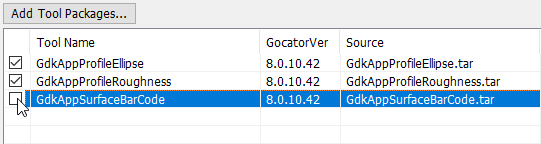
The version of a tool package must match the version of the loaded firmware or folder. If a package’s version does not match the firmware’s, it is highlighted with grey in the tool list and can’t be selected and included in the firmware. (The version of a tool package comes from the version of the GDK used to create it. It is not currently possible for users to create their own tool packages.). |
| 8. | When you have finished adding the packages, in the tool list, check the checkbox next the tools you want to add to the loaded firmware or folder. |
|
|
Be sure to select at least one tool. |
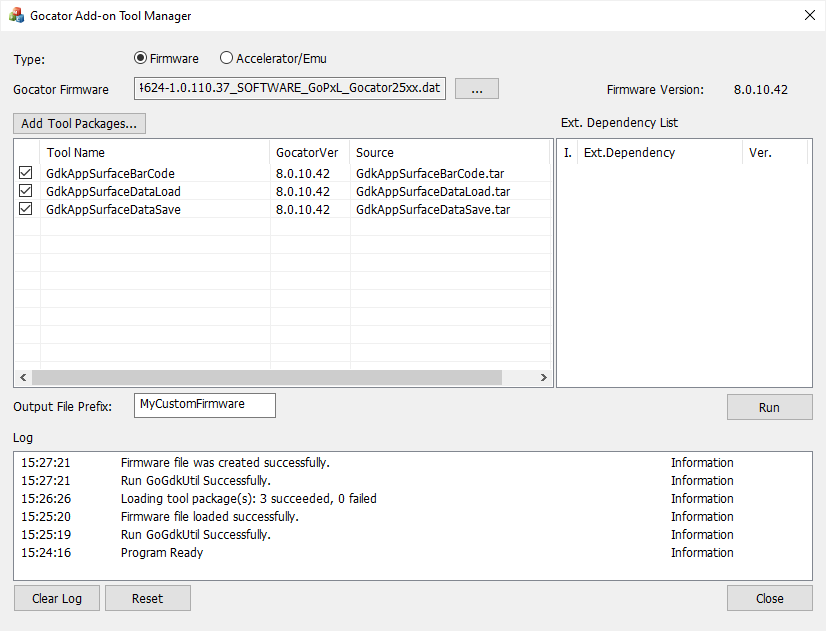
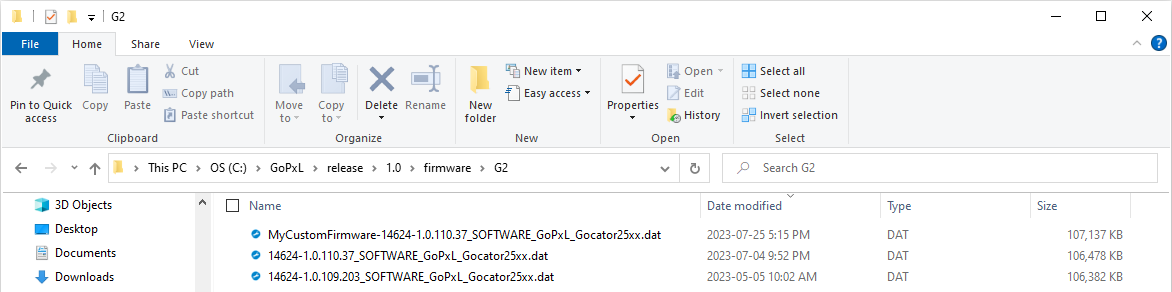
| 9. | If you are adding tools to a firmware, in the Output File Prefix field, change the default “NewCustom” to something that will help you remember what the new firmware is for. |

This field is hidden when you are adding tools to GoPxL for Windows folder.
| 10. | Click Run. |

If you are adding tools to a firmware, the tool manager creates a new firmware that contains the beta tools you selected, using the prefix you provided for the filename. The new firmware is created in the same location as the original firmware you loaded.
|
|
The tool manager will overwrite an existing firmware without warning. |
After you have successfully created the new firmware, you can upload it to any compatible sensor; for more information, see Software Upgrade.