GoHMI and GoHMI Designer
GoHMI lets you create flexible human-machine interfaces (HMIs), which lets you provide a custom GUI containing system and inspection metrics. Your HMI can also be touch-enabled. You create and edit HMIs in GoHMI Designer. You can design different layouts for different devices so that, for example, your HMI will adapt to the screen it is being displayed on (a PC monitor, a laptop, a tablet, or a phone), as well as its orientation on the screen.
Before using the designer, you must enable GoHMI on GoPxL; for more information, see Enabling and Configuring GoHMI in GoPxL.

|
GoHMI and GoHMI Designer only support a single HMI app, called "GoHMI." |
LMI provides a default HMI app with GoHMI that you use as a starting point or simply to explore the capabilities of GoHMI. When you launch GoHMI Designer, the default app loads in the designer.
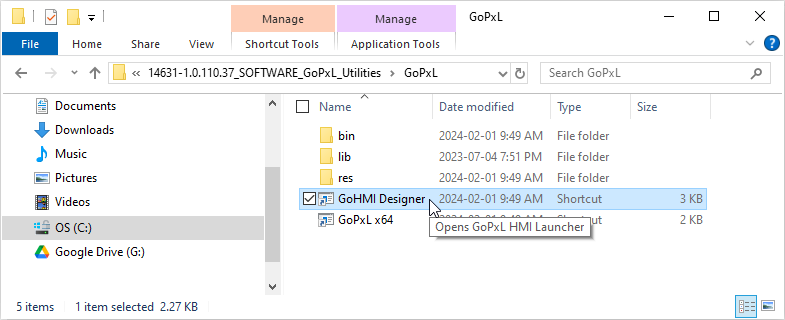
GoHMI Designer is available in the GoPxL Utilities package (14631-x.x.x.x_SOFTWARE_GoPxL_Utilities.zip), available on LMI's Product Downloads page (https://lmi3d.com/product-downloads/). After you have downloaded the package, unzip it and make note of the folder's location; the shortcut to the designer is in the GoPxL folder.
|
|
GoHMI Designer requires the Microsoft Visual C++ Redistributable package. This package is usually already installed on most PCs. If you are unable to launch HMI Designer, you may need to install this package, which can be downloaded at https://docs.microsoft.com/en-us/cpp/windows/latest-supported-vc-redist?view=msvc-170. |

|
If you decide to run your HMI application on a sensor, instead of on a PC instance or a GoMax NX device, you should not use the HMI data trending functionality. Data trending writes data repeatedly to storage, which can shorten the lifespan of the sensor's flash memory. Also, if the sensor's storage becomes full, the sensor may not be able to start. If you need data trending, you should run the HMI on a PC or on GoMax. |
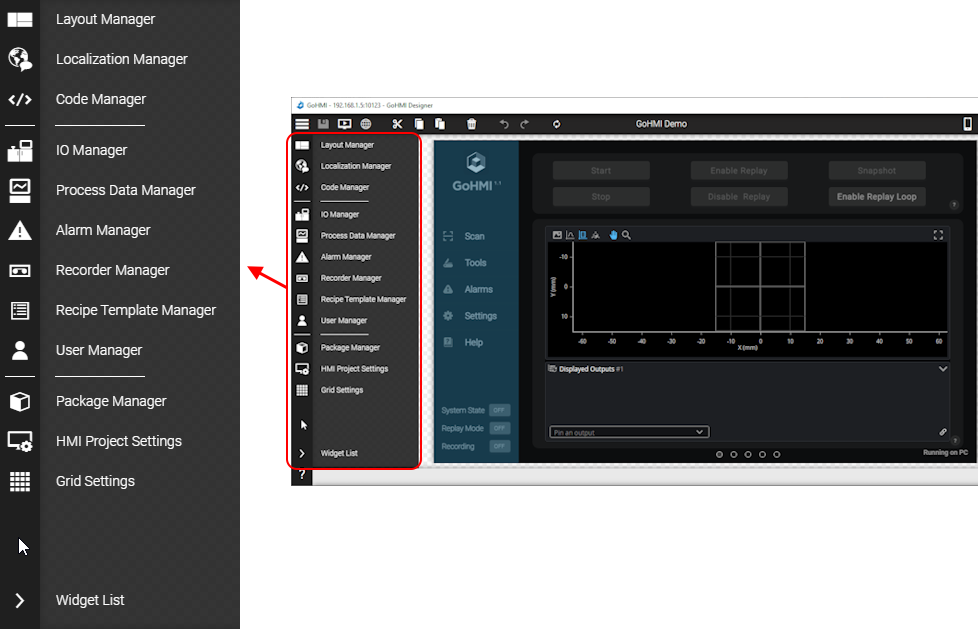
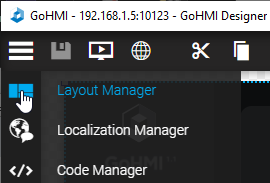
GoHMI Designer organizes the available design functionalities and settings into "managers" and settings pages. After you have opened an HMI app in GoHMI Designer, they are listed in a collapsible panel along the left side of the application. Move your mouse over the left side of the designer to expand it. Click on a manager or settings item to switch to it.
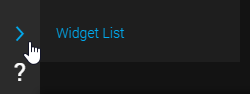
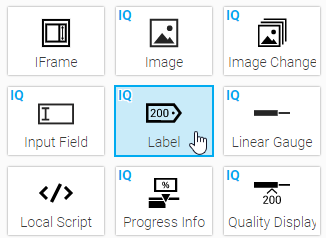
The side panel also lets you access the list of widgets (user interface controls such as buttons) and layout containers you use to create your HMI. Click on "Widget List" to open the list. The widgets are grouped into categories. Below, the "Widgets" category is open.

GoHMI application layout development involves the concept of containers. Containers contain widgets or other containers (that is, containers can be nested). Containers can display their contents horizontally (for example, a row of buttons and fields) or vertically (for example, a stack of buttons).
By nesting containers and adjusting their alignment, you have complete control over your HMI app's layout and design.
The following provides a high level view of what you need to do to start creating an HMI. The first steps below refer to general acquisition and measurement tool setup, which is described elsewhere in the manual. The remaining steps are described in further details below.
| 1. | Install a sensor or group of sensors. |
For more information, see the installation and networking topics under Getting Started.
| 2. | Configure the sensor acquisition settings. |
For information on configuring acquisition settings, see Scan - Configuring Acquisition.
| 3. | Add and configure measurement and processing tools. |
For more information, see Tools - Measurement and Processing or the topics for specific tools.
| 4. | (Optional) If your application requires the Gocator communication protocol or any of the industrial protocols, enable and configure these. |
For more information on the protocols available in GoPxL, see Protocols (PLCs and other hardware).
| 5. | Enable the HMI control settings in the Control > HMI page using the toggle and configure GoHMI. |
For more information, see Enabling and Configuring GoHMI in GoPxL.
| 6. | Launch GoHMI Designer. |
For more information, see Launching GoHMI Designer.
The following lists the browser requirements of GoHMI apps:
- Chrome 80 (released 04.02.2020)
- Firefox 74 (released 10.03.2020)
- Edge 80 (released 07.02.2020)
- Safari 14 (released 16.09.2019)
- Opera 67 (released 25.02.2020)
Overview of Managers and Settings Pages
For information on the editors (called "managers") you use in GoHMI Designer, see the following table.
Enabling and Configuring GoHMI in GoPxL
This section describes how to enable and configure GoHMI in the GoPxL interface. Before continuing, make sure you have created a sensor system, configured acquisition, and added and enabled the tools and measurements you want to display in the HMI.
To enable and configure GoHMI
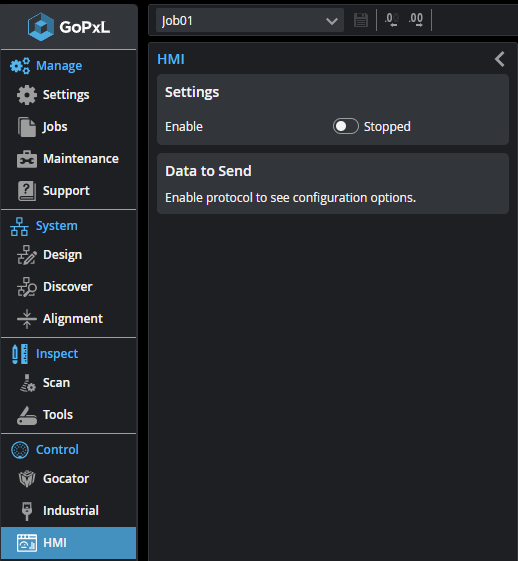
| 1. | On the Control page, in the HMI panel, enable the HMI service. |
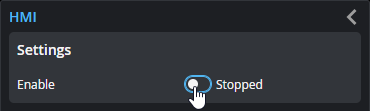
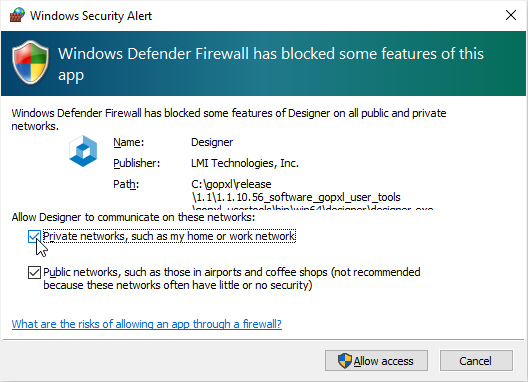
If you are running GoPxL on a PC, a Windows Security Alert referring to WebIQ (the service on which GoHMI Designer runs) may appear. Enable both networks.

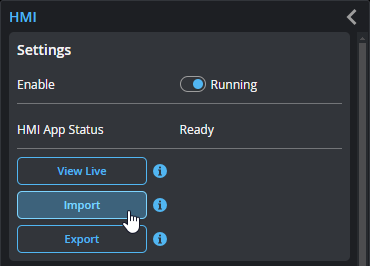
The HMI service launches, and the HMI panel displays the following:
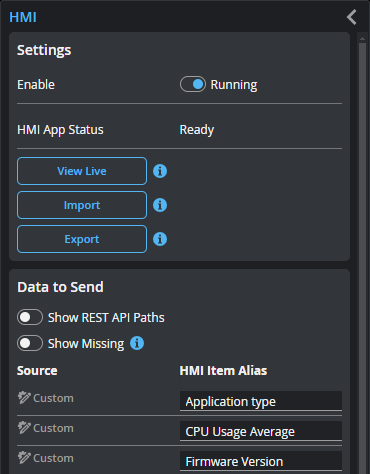
The Settings panel provides three buttons. The Data to Send panel below that lists the data items, including measurement values and decisions.
When the application is running, GoPxL displays a View live button that launches the application, in a new tab. You can make note of the URL of the HMI in this tab for future use.
Import lets you import an HMI application.
Export lets you export the HMI application currently available on the device (or in the PC instance).
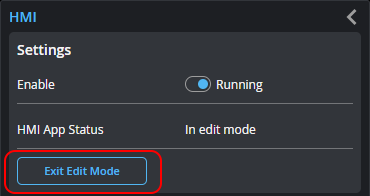
| 2. | If you see In edit mode as the HMI status instead of Ready, you must clear the workspace in GoHMI Designer. |
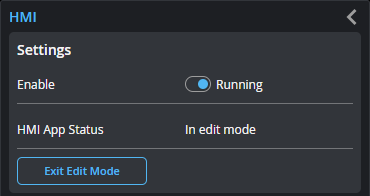
The status In edit mode means that the HMI app is currently loaded into the GoHMI Designer workspace. If you know you have finished making changes in GoHMI Designer, and have closed it without publishing it (to the sensor or PC instance of GoPxL), you can "force" exiting edit mode by clicking Exit Edit Mode. Note that doing this removes any unpublished changes in GoHMI Designer. For information on properly closing the designer and publishing changes, see Exiting, and Saving and Publishing Changes.
| 3. | In the Data to Send panel below, expand the output drop-down and click an output you want to send to the HMI. |
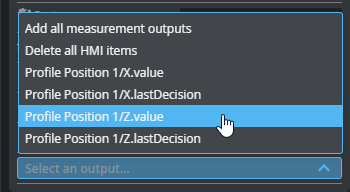
After a few seconds, the output appears in the list of outputs that GoPxL will send to the HMI.
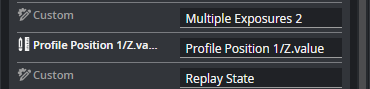
You can toggle between showing HMI item aliases and HMI item paths of the outputs.
If you don't see the output you want to add, check that you have enabled it in the measurement tool, on the Inspect > Tools page.
Launching GoHMI Designer
After you have enabled the HMI service in GoPxL and configured it by adding the outputs you want to send to the HMI, you can launch GoHMI Designer to create or edit an HMI.
To launch GoHMI Designer
| 1. | Go to where you extracted the GoPxL tools, and double-click the GoHMI Designer shortcut. |
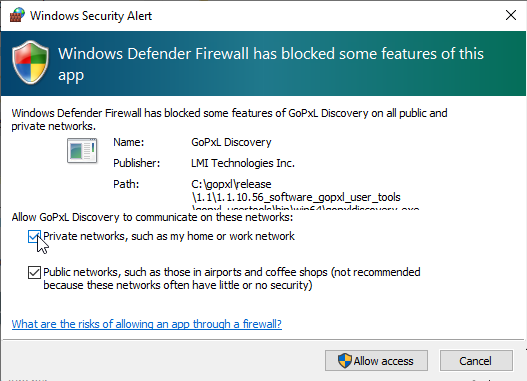
| 2. | (Optional) If a Windows Security Alert opens, enable both networks and click Allow access. |
GoHMI Designer Launcher opens and lists the available instances of GoPxL. In the following, we see two sensors, a PC instance of GoPxL called "GoPxL 1," and a GoMax NX device.
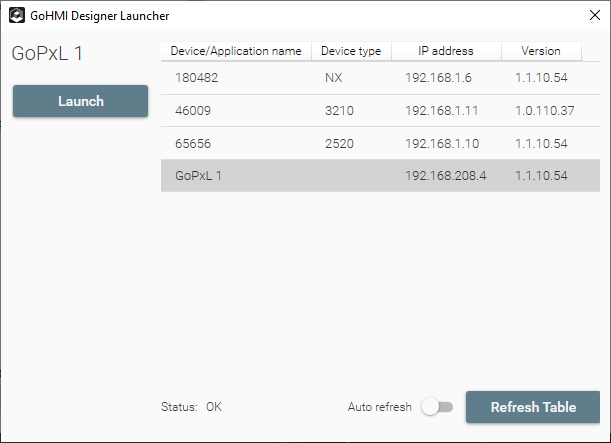
| 3. | In the designer, select the row of the GoPxL instance for which you want to launch GoHMI Designer and click Launch. |
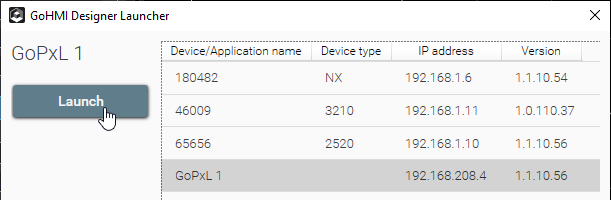
You may need to refresh the table to get the most up-to-date list by clicking Refresh Table. You can toggle Auto Refresh to have the table refresh automatically.
Note that you can only launch one instance of GoHMI Designer at a time.
If a sensor is currently running through a PC instance of GoPxL, its status is "Device is remotely connected." In this case, you can only launch GoHMI Designer from the PC instance through which the sensor is running.

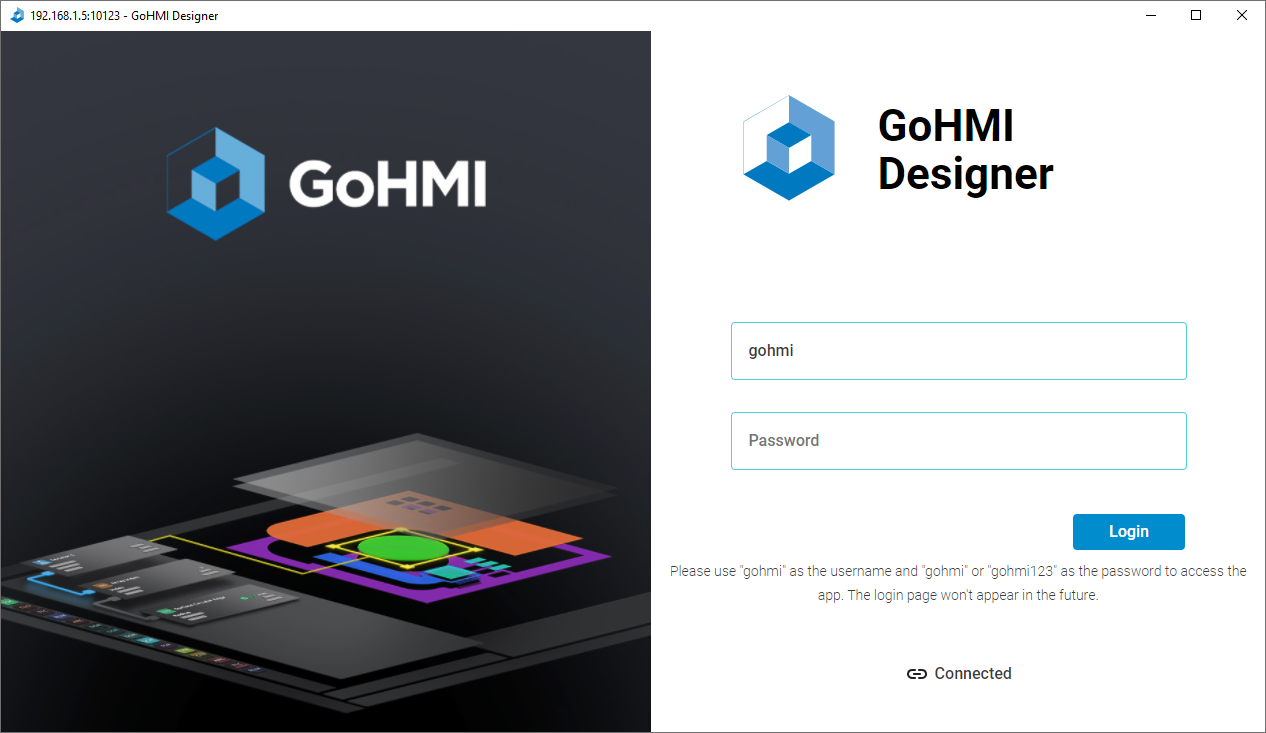
The launcher closes and the GoHMI Designer login screen appears.
A Windows Security Alert may appear. If so, allow the designer to communicate over both networks.
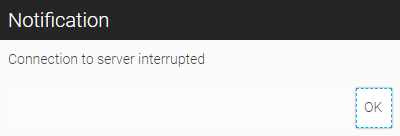
If you see a notification warning that the connection to the server has been interrupted, make sure you have enabled the HMI service in GoPxL. After enabling the service, click OK in the notification. (For more information, see Enabling and Configuring GoHMI in GoPxL.)
| 4. | Log in to the designer. |
By default, use "gohmi" or "gohmi123" for the user name and "gohmi" for the password.
Opening, Editing, and Saving a Project
This section describes how to open the a GoHMI project (called GoHMI), modify it, and save it.
|
|
GoHMI Designer only supports a single HMI application at a time. |
To open a project
| 1. | In the GoHMI Designer main screen, hover the mouse over the GoHMI project and click it. |
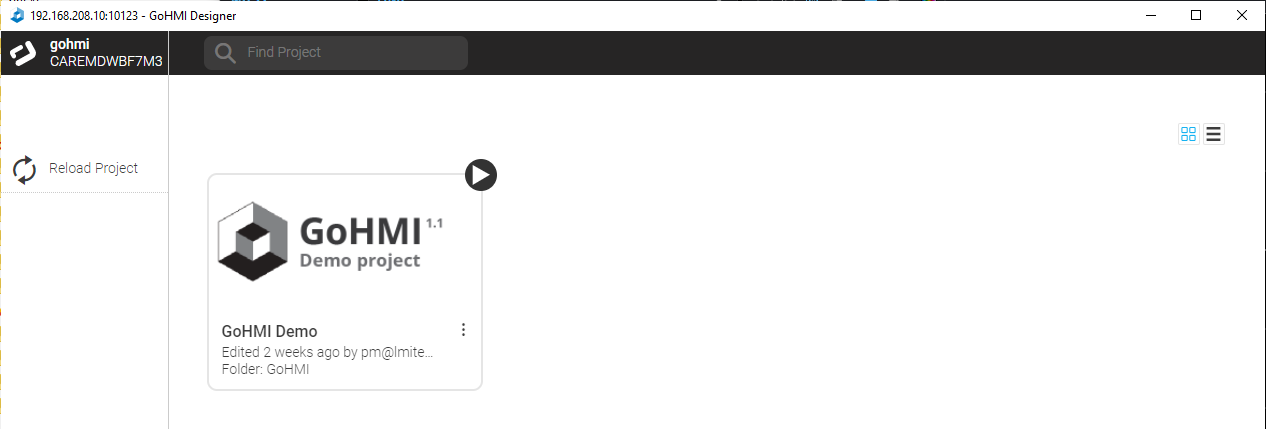
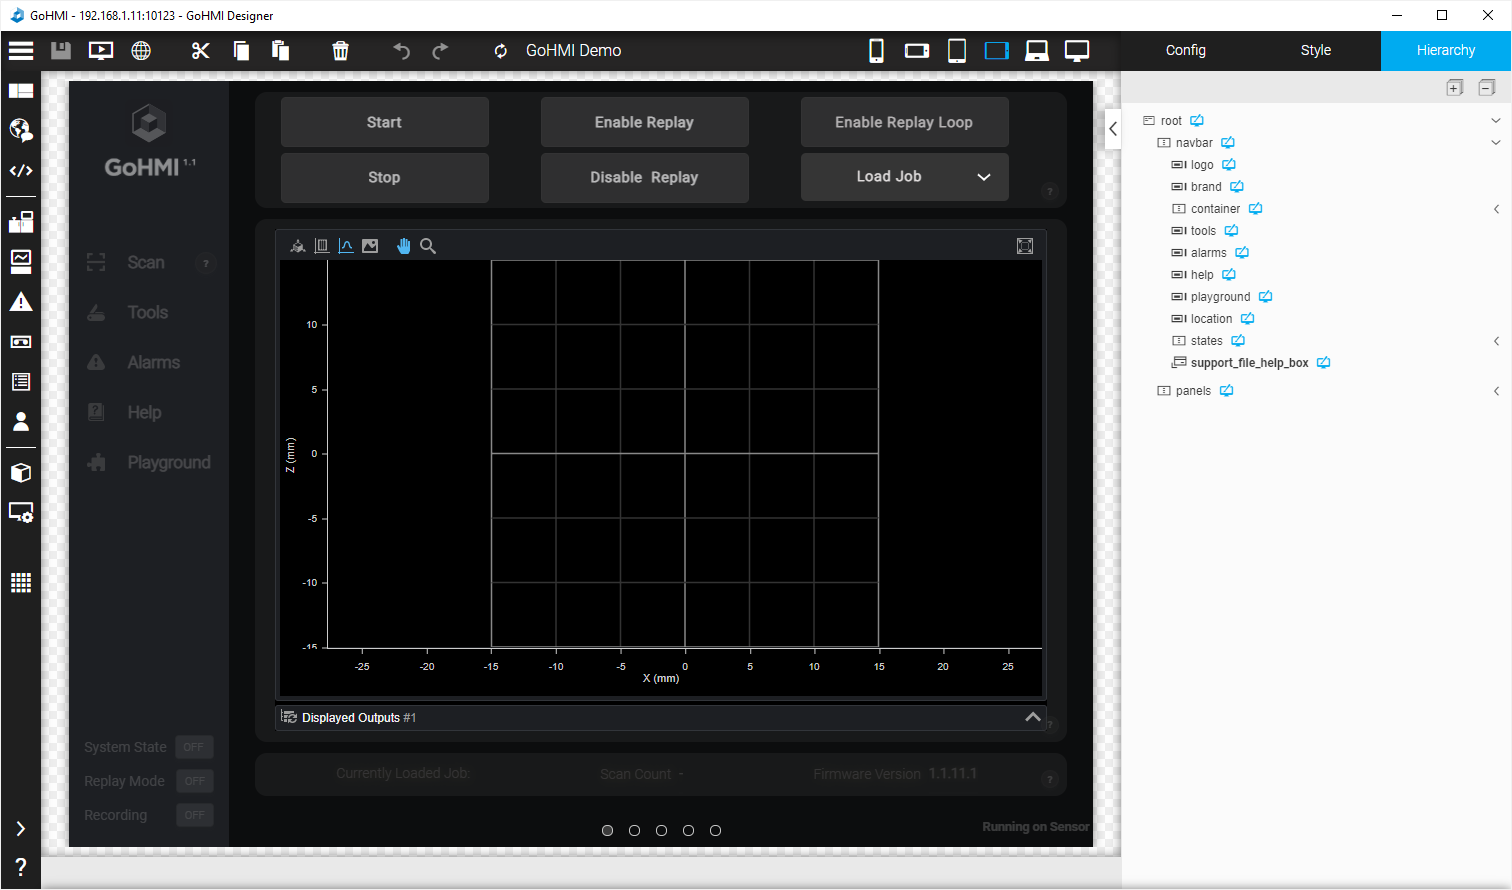
The project opens in the Layout Manager.
Note that after the HMI loads in GoHMI Designer, in the GoPxL interface the HMI app status becomes "In edit mode."
Adding a Widget
This section describes how to add a widget to the demo app. To keep things simple, we will simply describe how to add a label to the demo HMI app, change the text it displays, and modify the color of the text.
|
|
Before modifying the demo HMI, you should export it for safe-keeping. For more information, see Importing and Exporting an HMI. |
To add a widget
| 1. | Move the mouse over side bar on the left and click Layout Manger to make sure you're in the Layout Manager. |
| 2. | While still hovering over the side bar, move down to Widget List and click it. |
| 3. | In the Widget List panel that opens, click and drag the Label widget toward the HMI in the Layout Manager. |
As you move the widget over the HMI, notice that the container to which the widget would be added if you dropped it is indicated by a green rectangle. A pink line indicates where in the container it would be dropped.

Note that as you move the widget over the HMI, its position is also shown in the hierarchy of containers and widgets in the Hierarchy panel to the right. You can also drag widgets onto this hierarchy to position them between widgets.
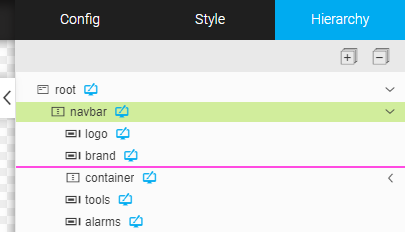
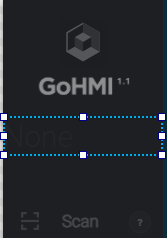
| 4. | Drop the widget, for example after the GoHMI "brand" item. |
The widget is added to the HMI, and initially shows "(no value)". The default color of the text will make it difficult to read.
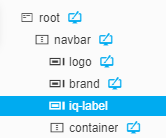
The Label widget now appears in the hierarchy as "iq-label," between the "brand" and "container" items.
Understanding where widgets will "land" involves understanding container types and their alignment settings.
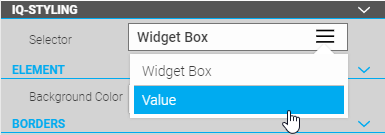
To style widgets, you will typically use a stylesheet, which is beyond the scope of this document. However, you can manually style a widget by selecting the widget in the Hierarchy panel, switching to the Style panel, scrolling down to the IQ-Styling section, and applying the desired style. For this example, you must change Selector from Widget Box to Value.
Click the Font Color selector.
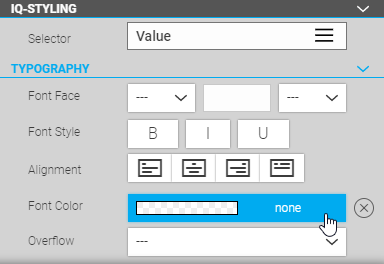
In the selector, replace "000000" with "ffffff", and click outside the selector to apply the change.
To set the value of the label, you must switch to the Config tab, and set it in the Data Attributes section. If you need to set the label to static text, edit the Text field. You can set the value directly here (by replacing the variable in the field with text), for example, with "My label".
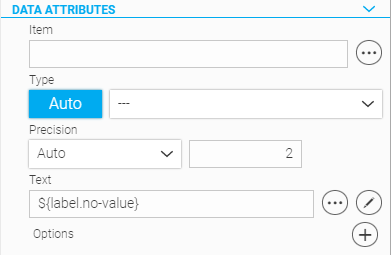
You can also set up a variable in the Localization Manager and set the widget's text using that variable.
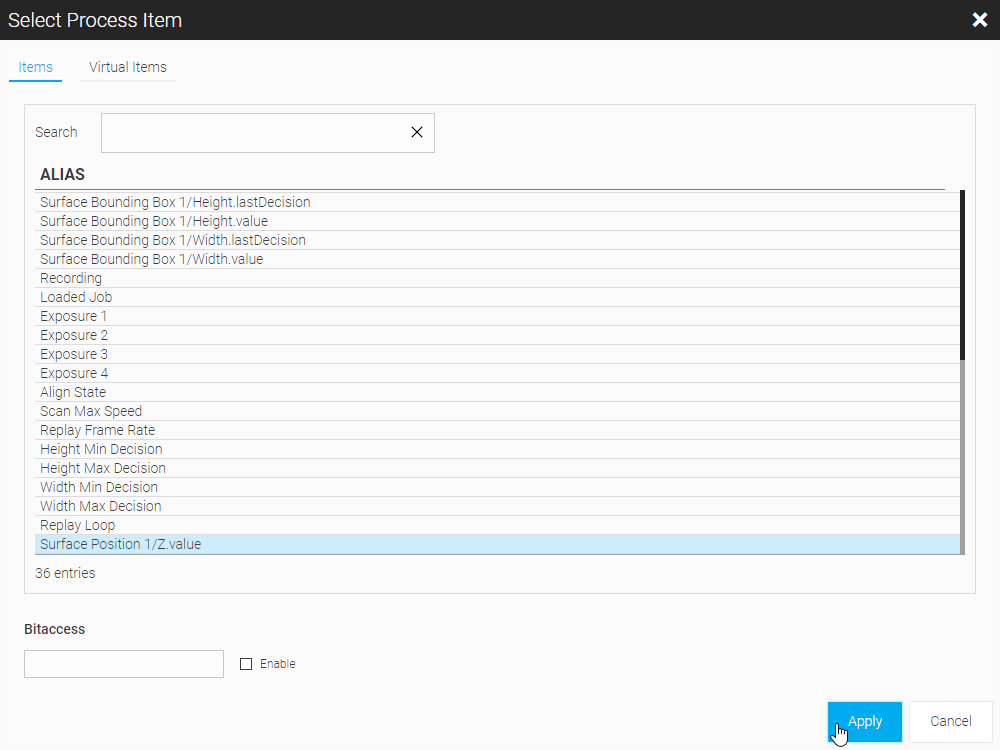
You can also set the value of the label to something the HMI is receiving from the sensor, such as a measurement value. To do this, in the Data Attributes section, click the three dots next to the Item field, choose the item in the Select Process Item dialog, and click Apply.

Exiting, and Saving and Publishing Changes
While you are working on an HMI, you should save it regularly. Save changes from the top left menu, by pressing Ctrl+S, or by clicking the Save icon (![]() ) at the top of the interface. When you save changes, they are not written to the sensor or PC instance of GoPxL. They are only saved in the designer's workspace. If you close the designer by using the Close icon (
) at the top of the interface. When you save changes, they are not written to the sensor or PC instance of GoPxL. They are only saved in the designer's workspace. If you close the designer by using the Close icon (![]() ) at the upper right of the designer, the current state of the project is kept in the designer, and when you open the designer again, you can continue from where you stopped.
) at the upper right of the designer, the current state of the project is kept in the designer, and when you open the designer again, you can continue from where you stopped.

Note that when you close the designer using the Close icon (![]() ), the HMI remains in "edit mode," and you can't run the HMI, or import / export it from GoPxL. To do this, you must publish the HMI (see below).
), the HMI remains in "edit mode," and you can't run the HMI, or import / export it from GoPxL. To do this, you must publish the HMI (see below).
After you have finished working on an HMI in GoHMI Designer, you must publish it. Publishing an HMI copies the project loaded in the designer to the device or the PC instance of GoPxL. (These are called the "runtime.")

In some situations, such as when you have closed the designer without publishing unneeded changes, you can "force" exiting edit mode by clicking Exit Edit Mode in GoPxL, in the Control > HMI page. Note that doing this removes any unpublished changes in GoHMI Designer, so make sure it is safe to do this.
Changing Mapped Outputs in GoPxL
To add or remove measurements at a later date in the list of outputs that are sent to the HMI application, the HMI App Status in GoPxL must say "Ready". If HMI App Status shows "In edit mode" and if you have unpublished changes in the designer that you want to keep, follow the steps in Launching GoHMI Designer and then, in GoHMI Designer, publish the changes. For more information on publishing changes, see Exiting, and Saving and Publishing Changes. Otherwise, you can force GoPxL to exit edit mode by clicking Exit Edit Mode, but you will lose any unpublished changes.
Importing and Exporting an HMI
You can import an HMI app from the GoPxL interface. After importing an HMI app, you can then edit it in GoHMI Designer. After you have imported an HMI you can also start it from the GoPxL interface by clicking Start and then View live.
|
|
Importing an HMI app overwrites the HMI app currently in GoHMI Designer. Consider exporting the HMI app from the GoPxL interface on a regular basis. |
To back up an HMI you have created or to provide it to someone else, you can export it.
|
|
Imported and exported HMI apps are zip files. |
To import an HMI app
| 1. | Make sure you have backed up the current HMI or that it is OK to overwrite it. |
Importing an HMI app overwrites the app in GoHMI Designer.
For information on exporting an HMI, see To export an HMI app.
| 2. | In the GoPxL interface, click Import. |
| 3. | In the Open dialog that displays, go to the location of the zipped HMI app project and click Open. |
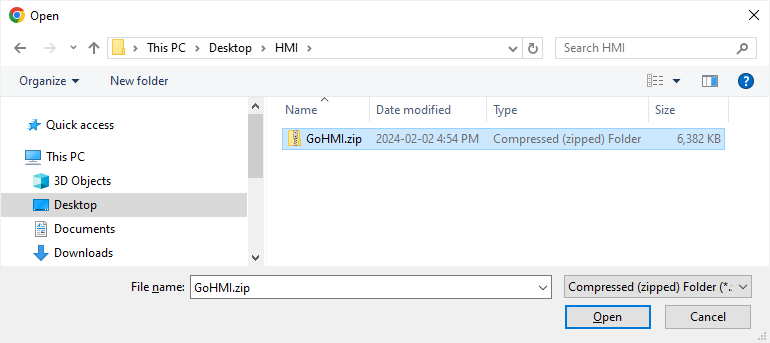
GoPxL imports the HMI app.
The app is now available for editing in GoHMI Designer (see See Opening, Editing, and Saving a Project).
If you want to back up or send your HMI app to someone, you export it in GoPxL interface.
-
In the GoPxL interface, click Export.

GoPxL downloads the HMI app and saves it as a zip file (GoHMI.zip).
You may need to tell your browser to accept the download (Chrome).
