Recording and Working with Scan Data (Toolbar)
You use the buttons in the right half of the global toolbar, at the top of the interface, to do the following:
- start and stop scanning
- record replay data
- enable replay mode and play data
- upload, download, and clear replay data

|
When switching between scan modes, if you have previously recorded data, you must clear it before recording replay data of a different type. |
Depending on whether Replay (4, below) is disabled or enabled, the control buttons (2, below) change. When Replay is off, the controls let you start and stop data acquisition. When Replay is on, the controls let you play back recorded data.

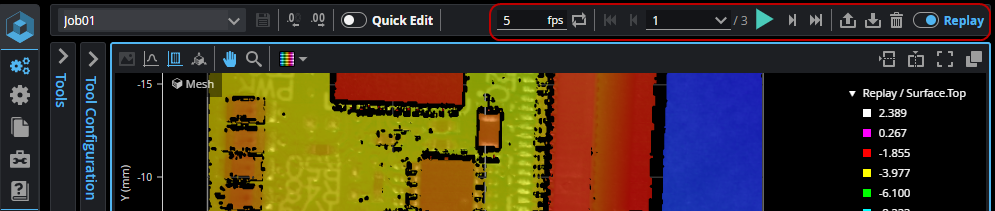
The global toolbar with Replay disabled (top) and enabled (bottom)
Note that when GoPxL is in Replay mode, the data viewer is displayed with a blue border to help
| Element | Description | |
|---|---|---|
| 1 | Frames per second and Repeat frames (looping) |
These controls let you set the number of frames per second (fps) during playback, and also whether GoPxL repeats frames, by toggling the Repeat frames button ( |
| 2 | Data playback and recording controls |
These controls let you start and stop scanning, start recording and also play back replay data. The number of frames is also indicated. The controls that are available depends on whether Replay mode is disabled or enabled. For information on starting and stopping scans, see Starting, Stopping, and Recording. For information on data playback, see Playing Back Recorded Data. |
| 3 | Replay actions |
Lets you upload, download, and clear recorded data. When uploading data, you can decide whether to only upload scan data, or to upload both scan data and the associated configuration (tools and other GoPxL settings).
The file type of replay data is .gprec. |
| 4 | Replay toggle |
Lets you toggle between data acquisition (toggle is to the left) and data playback (toggle is to the right). |
 ). For more information, see
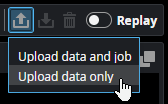
Starting, Stopping, and Recording
You start and stop data acquisition (and toggle recording) using the data control buttons when Replay is disabled.

| Element | Description | |
|---|---|---|
|
1 |
Start or stop scanning |
The sensor starts scanning continually when you click the Start button ( |
| 2 | Single frame (Snapshot) |
The sensor acquires a single frame of data. For line profile sensors, you can't acquire a single frame of data if the sensor is in Surface mode, only in Profile or Image mode. |
| 3 | Record data | Toggles recording scan data as it is acquired. The number of frames recorded is displayed next to the Start button. When recording is enabled, the Record data button turns red ( ). ). |
 ), and stops when you click the Stop button (
 ).
).Normally, when you have enabled recording using the Record data button above the data viewer, GoPxL records scan data coming directly from the sensor or group of sensors (in the Tool Diagram, this is called the "sensor block").
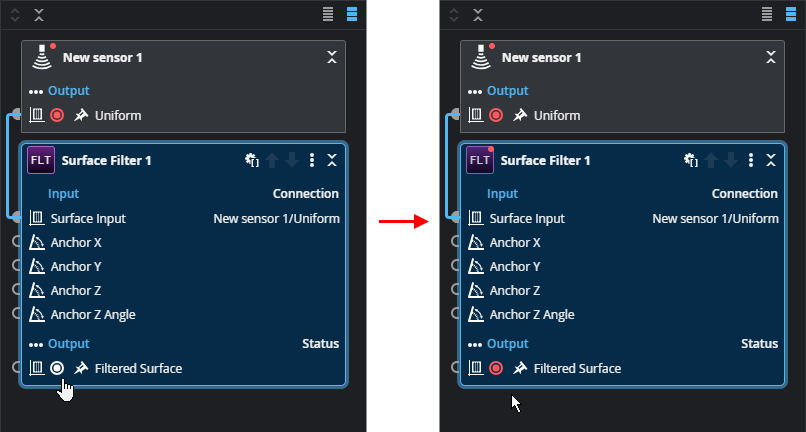
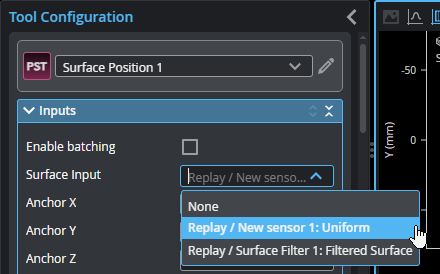
You can also record a tool's output. An example of this is recording the Filtered Surface output of a Surface Filter tool. To do this, first enable recording above the data viewer as you would normally do. Then, expand a tool in the Tool Diagram, and click the white Record button next to an output.
When you record data with output recording enabled for any of the tool's outputs, the resulting replay data will contain the scan data coming from the sensors, but also the tool's output data. Once you've downloaded this replay data and uploaded it to a sensor or PC instance of GoPxL, both sources are available in a tool's input.
You can choose to disable recording of the data coming from the sensor block to only record a tool's output. This can be useful when you have a long chain of pre-processing tools that performs filtering, transformations, or masking to isolate scan data, and so on. By recording the output of the last tool in the pre-processing chain, uploading that to a PC instance of GoPxL, you can then develop the decision-making part of your application separately, without the overhead of the pre-processing tool chain.
Playing Back Recorded Data
When Replay mode is enabled, you play recorded data back using the data control buttons.

| Element | Description | |
|---|---|---|
| 1 | Playback rate and repeating frames | When "Repeat frames" ( ) is enabled, scan data is played back in a loop. This is useful when inspecting data or configuring tools using recorded data, and also for demos. ) is enabled, scan data is played back in a loop. This is useful when inspecting data or configuring tools using recorded data, and also for demos. |
| 2 | Go to previous / first frame |
Displays the previous frame or jumps to the first frame of the recorded data and displays it. |
| 3 | Frame position |
Lets you go to a specific frame, either by entering a value in the field, or by using a slider.
|
|
4 |
Start playback |
Starts playing back frames of the recorded data, at the specified number of frames per second. |
| 5 | Go to next / last frame | Displays the next frame or jumps to the last frame of the recorded data. |
