Aligning Sensors
Alignment is the process you use to automatically calculate transformations (rotations and translations / offsets) that are applied to a sensor's scan data while it is scanning targets. If you do not correct for these rotations, scan data may be too distorted for your application, and your measurements may therefore be inaccurate. Alignment is often required for various reasons:
- To compensate for sensor mounting inaccuracies relative to the intended scanning surface, and to other sensors in dual- or multi-sensor systems.
- To set a Z (height) reference plane, using a flat surface or an alignment target.
- To accommodate intentional rotation of sensors, or intentional offsets of sensors in multi-sensor systems.
- To merge profiles in dual- and multi-sensor systems so that the combined profiles can be measured (setting a common coordinate system).
- Optionally, to determine the encoder resolution (if present) and the speed of the transport system. (In many systems, the reference surface is a conveyor belt.) This is only possible using the first of the two methods described below.
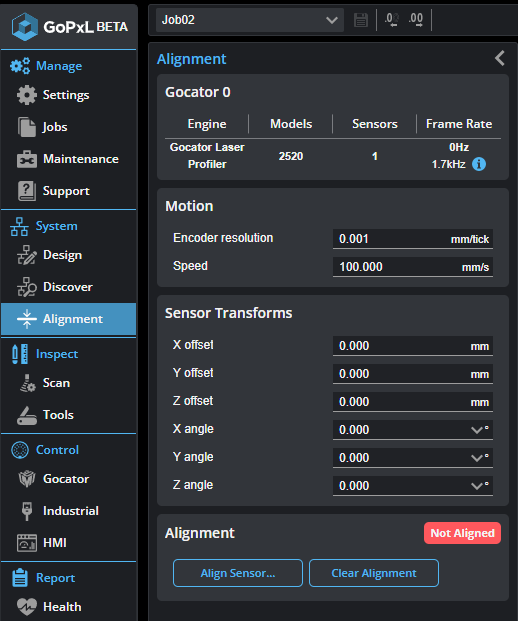
With G2 sensors, unless you need 6 degrees of freedom, you should use the alignment procedure on the System > Alignment page, by clicking the Align Sensors button. The routine provides step-by-step instructions.

Once you click the Align Sensors button, an alignment "wizard" goes through the steps required.

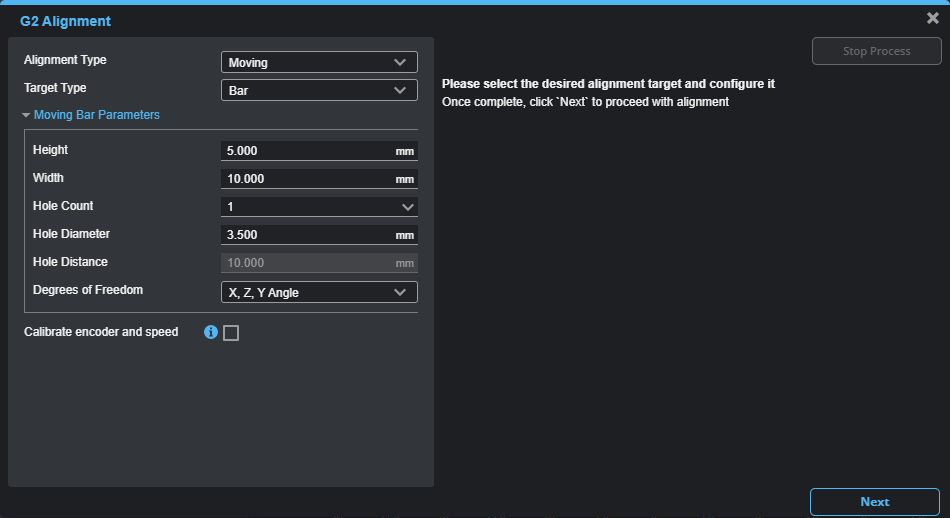
Alignment page set to Moving Bar alignment, with 3 degrees of freedom selected.
Two ways of performing alignment on sensors are available:
-
Using the alignment routines available on the System > Alignment page. The alignment routines provide step-by-step instructions to perform the alignment. LMI recommends using the alignment routines if your application doesn't require more than 5 degrees of freedom. For information on performing alignments using the alignment routines (for up to 5 degrees of freedom), see Aligning Sensors with up to 5 Degrees of Freedom.
-
For multi-sensor G2 applications that require 6 degrees of freedom, using the alignment tools available on the Inspect page (the Surface Align Wide and Surface Align Ring). For more information on these tools, see Aligning Sensors to 6 Degrees of Freedom.
If you are not sure which type of alignment you should you for your application, see Planning Alignment and Choosing an Alignment Method.

|
Sensors are pre-calibrated and ready to deliver data in engineering units (mm) out of the box. Alignment procedures do not affect sensor calibration. |